Hello, friends! It´s Silvana here with another inspiration card!
In the latest release from Picket Fence Studios you can find beautiful bees, butterflies and bugs, which are perfect for the upcoming spring season.

The "spring" was my inspiration for the background of this card and that´s why I chose a colorful option. I used some alcohol inks and played with them over a yupo paper. This was an A7 piece but I trimmed it to fit in an A2 card. Over this background I used the new Polka Dot Scarf 6x8 Stencil with Paper Glaze Luze Twinkle Lights Clear to add some dimension and shine.

Now, let´s talk about these pop up bugs. I stamped the bugs from the Bugs and Kisses stamp set on thick vellum paper with Versamark and white embossing powder. I cut them with the coordinating die.
For the pop up mechanism, you´ll need a piece of acetate, like the packaging ones, a medium weight acetate. You need to cut a piece (no matter what size, but not to big since there are three bugs, a 2 by 3" will work) and folding it in half. You need to enforce the fold with a bone folder. You have a piece now with a kind of V shape.One side, you have to cut off most of it, so that one side you have a 1/4" flap, doesn´t have to be perfect. Now, instead of a V shape, you have like a check mark if you look it from the side.
Along that 1/4" flap on the outside you have to put some double sided tape but I´ll reinforce it afterwards with some strong liquid adhesive. Now you have to cut the piece of acetate in smaller pieces.

Now place the bugs where you want them to be in the card. Remove the release paper from the "foot" of the pop up mechanism and place it under one wing of one of the bugs.Press it down firmly with your bone folder, or use a little glue to help you attached there. Repeat for the other wing, letting a space between both pieces, a 1/4", depending of the bug. Put a piece of double sided tape on the back center of the vellum bug and remove the release paper. Press the adhesive so the body of the bug attaches to the space that you left between the two acetates. Again, don´t hesistate in using some liquid strong glue here too.
Now you can see how the bugs wings pop up! Cut the excess of the acetate that maybe shows from behind. Repeat the process for each bug.

I finish the card with one of the sentiments that comes with the set, stamped onto a black cardstock with white embossing powder.
I hope you liked the card and the process made sense to you! You´ll find a quick tutorial in my Instagram page.
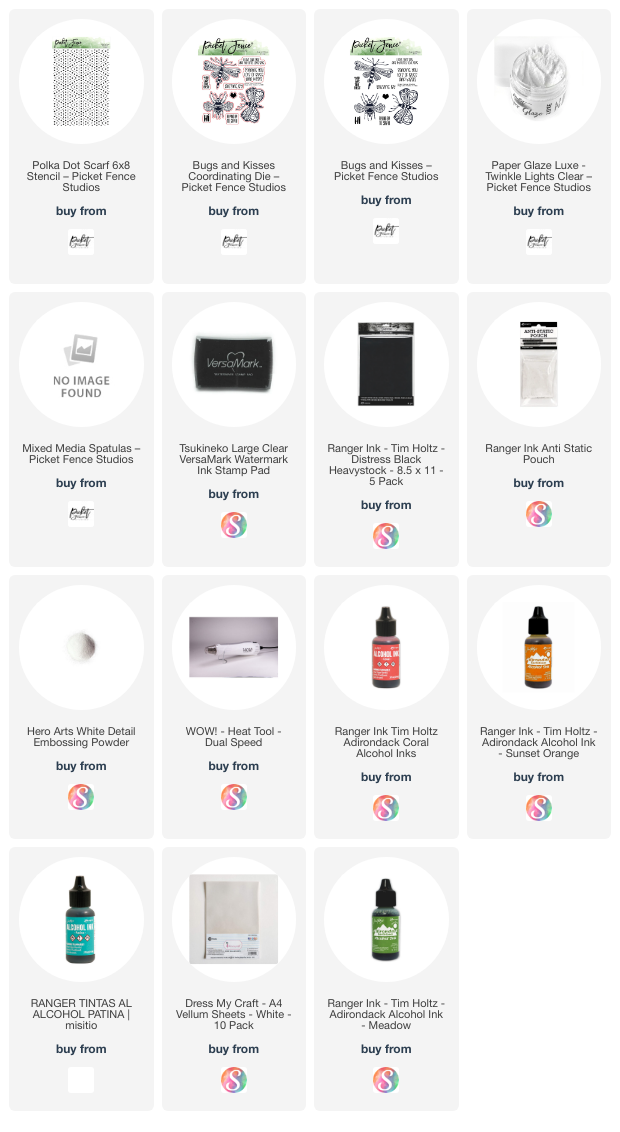
I´ll leave you the products list above.
Thank you for reading and stopping by the blog today!
Have a nice week,
Silvana.